★★★★★
Heritage Exteriors is beyond exceptional. Very impressed with the timeliness, communication, and reasonable price of the whole project.
Scott Doyen
Sacramento, CA · Google
Sacramento, CA · Google

There is a gap at the bottom of your siding, and it is not a mistake. That clearance is a drainage and drying detail, and it is one of the most commonly destroyed parts of a wall assembly — usually years after the siding went on, by a landscaper adding a raised bed or a contractor pouring a new patio right up to the wall.
Get a Free EstimateAlmost every wall assembly depends on a gap at the bottom, and almost nobody knows it is there for a reason. This page covers what a weep screed does, why siding keeps a clearance above soil and hard surfaces, and how that clearance gets quietly destroyed years after the siding was installed correctly.
The starting point most homeowners have not been told: no exterior wall is expected to be perfectly watertight at the cladding. Wind-driven rain gets past siding laps, joints, and penetrations, and that is anticipated. The assembly manages it — the weather-resistive barrier behind the cladding sheds that water down and out, and the base of the wall is where it leaves.
Which means the bottom of the wall is not just an edge. It is the drain. Block it and water that the system planned to release has nowhere to go.
On stucco walls, a weep screed is the formed metal flashing at the base, fixed at the bottom of the framing. It performs two functions:
That drainage function is why anything covering the screed matters so much. Soil, mulch, a new path, or a raised planter across the bottom of the screed closes the exit, and water that the wall was designed to release stays inside it.
Siding assemblies without a stucco screed rely on the same principle in a different form — a starter strip, a flashing, and a maintained clearance so the base can drain and dry.
| Problem | What the clearance does |
|---|---|
| Drainage | Gives water behind the cladding a route out at the bottom instead of pooling at the base of the wall |
| Capillary action | Breaks contact between porous cladding and damp soil, so moisture cannot wick continuously upward into the assembly |
| Pest access | Removes the concealed soil-to-wall path that termites and other insects use to get in below anything you can inspect |
Splash-back is a fourth, smaller benefit: rain hitting a hard surface throws dirty water up against the wall, and a clearance keeps the worst of that off the cladding.
The authority is the manufacturer's current installation instructions for your specific product, read alongside your local building code. Manufacturers publish different figures for different products and different conditions below.
As general orientation only: a clearance in the order of six inches above earth is commonly specified, with a smaller clearance — often around one to two inches — above hard surfaces such as paving, decks, and roofing. Roof-to-wall junctions have their own requirement, because water sheeting down a roof surface behaves differently from water at grade.
Do not treat those numbers as your specification. Look them up for your product. Getting this wrong is one of the ways a manufacturer warranty is invalidated, and it is easy to check.
This is the part worth acting on, because in our experience the siding is usually installed correctly and the clearance is lost later:
None of these look like damage. They look like improvements. That is exactly why the resulting rot is usually discovered by a siding crew years later, when the wall finally comes off.
Caught early, this is landscaping work rather than construction. Cut the soil or mulch back to restore the clearance, re-grade so the ground falls away from the house, keep planting beds off the wall, and move irrigation heads. Where concrete has been poured against the wall, restoring clearance means saw-cutting and removing a margin — more disruptive, but far cheaper than the alternative.
If the base of the wall is already soft, the repair is a construction job: the affected cladding comes off so the sheathing, framing, and barrier can be inspected and repaired, then the base is rebuilt with proper flashing and clearance. See siding repair, and if you are planning a full re-clad, our James Hardie siding page covers the replacement route.
Heritage Exteriors (CSLB #1055919) checks base-of-wall clearance and drainage as part of assessing any siding project across Sacramento, the Bay Area, and Lake Tahoe — it is one of the first places we look, because it is one of the most reliable predictors of what we will find when the wall comes off. Request a free estimate or call (916) 546-2991.
Reviewed August 2026. Clearance figures are general orientation only — the authority is your product’s current installation instructions and your local building code.
What is a weep screed?
A weep screed is a formed metal flashing installed at the base of a stucco wall, at the bottom of the framing. It does two jobs: it forms a clean edge that stops the stucco, and it provides a path for water that gets behind the stucco to drain out at the bottom rather than sitting against the framing. The perforations or the open lip along its lower edge are the drainage path, which is why blocking it defeats the whole component.
Why does siding have to stop above the ground?
Three reasons working together. First, drainage — any water that gets behind cladding needs a way out at the bottom, and material buried in soil cannot drain or dry. Second, capillary action — porous materials in contact with damp soil wick moisture upward continuously. Third, pests — soil contact gives termites and other insects a concealed path from the ground into the wall, bypassing everything visible. The gap addresses all three at once.
How much clearance is required?
It depends on the product and the surface below, and the authority is the manufacturer’s current installation instructions for your specific siding together with your local building code. As a general orientation, manufacturers commonly specify something in the order of six inches above earth and a smaller clearance — often one to two inches — above hard surfaces such as paving, decking, and roofing. Confirm the actual figures for your product rather than working from a number in an article.
My landscaper raised a bed against the house. Does that matter?
Yes, and this is the most common way the detail is lost. Raising soil, adding thick mulch, or pouring a new patio against the wall reduces or eliminates the clearance the siding was installed with. The wall was compliant when it was built and is not any more, and nothing visible changes for a while — the damage starts at the bottom course, hidden, and is often only found when the siding comes off years later.
What happens if the clearance is lost?
The bottom of the assembly stays wet. Cladding in soil contact wicks moisture, the drainage path is blocked so water that gets behind the wall cannot escape, and the base of the framing and sheathing stays damp through the wet season. That produces rot at the sill plate and bottom plate, and it provides concealed pest access. It is a slow failure, which is exactly why it goes unnoticed.
Can it be fixed without replacing the siding?
Often, yes — if the problem is caught before the framing has been damaged. The usual fix is to lower the grade back to a proper clearance: cut back the soil or mulch, re-grade so water falls away from the house, and where a hard surface has been poured against the wall, saw-cut and remove a margin. If rot has already started at the base, the affected cladding and any damaged sheathing or framing has to come off to repair it properly.
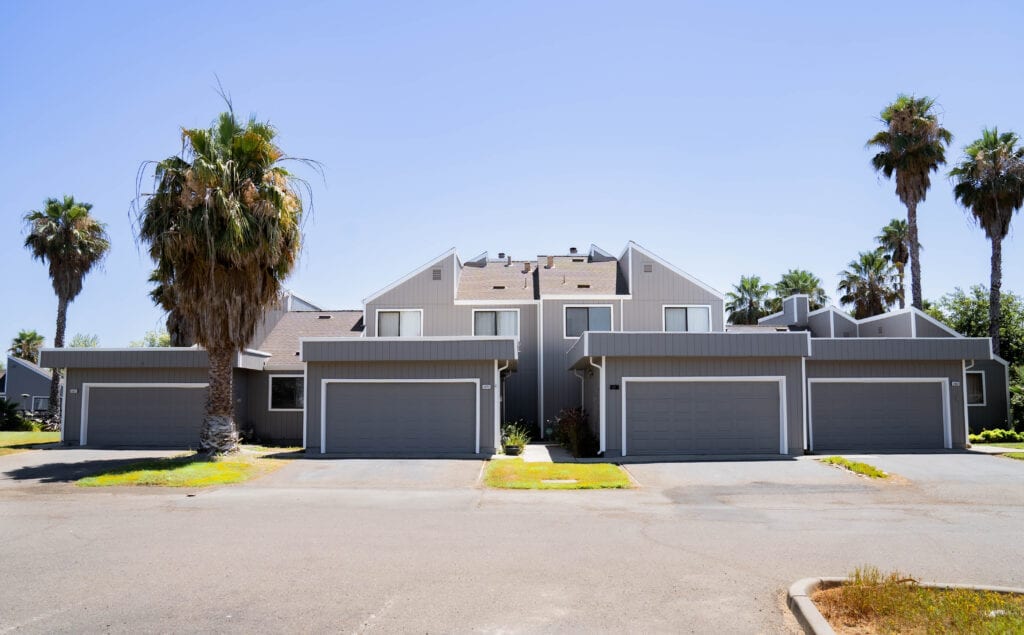
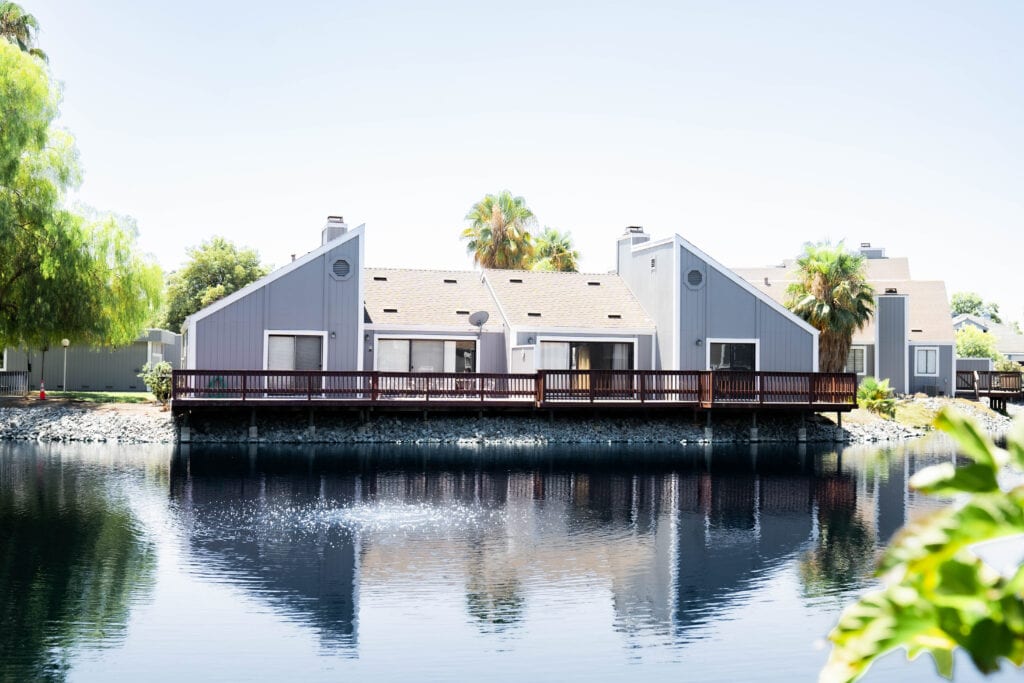
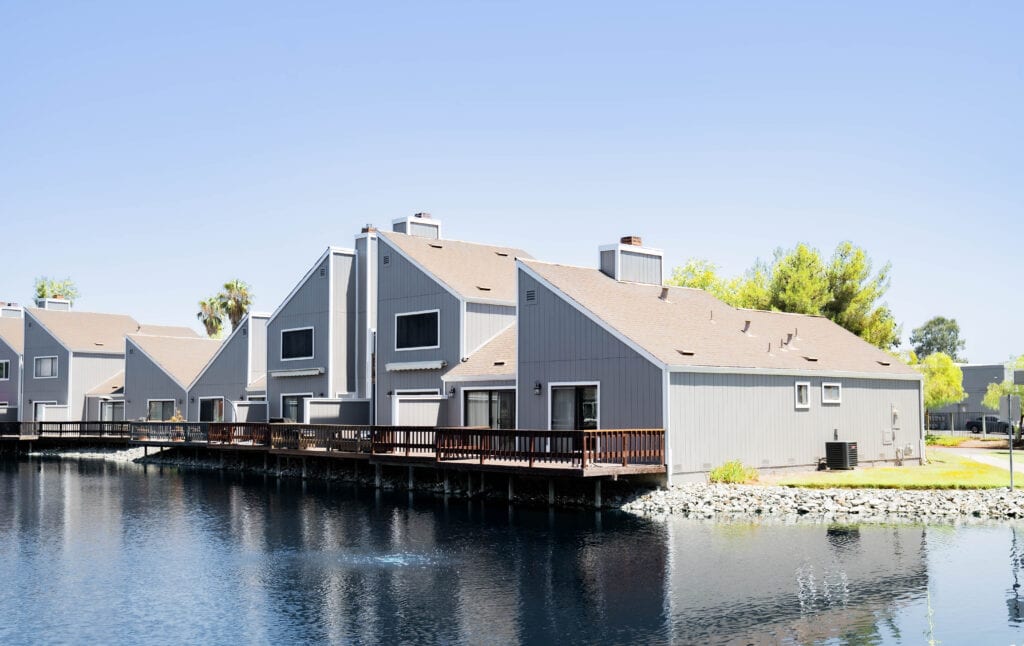
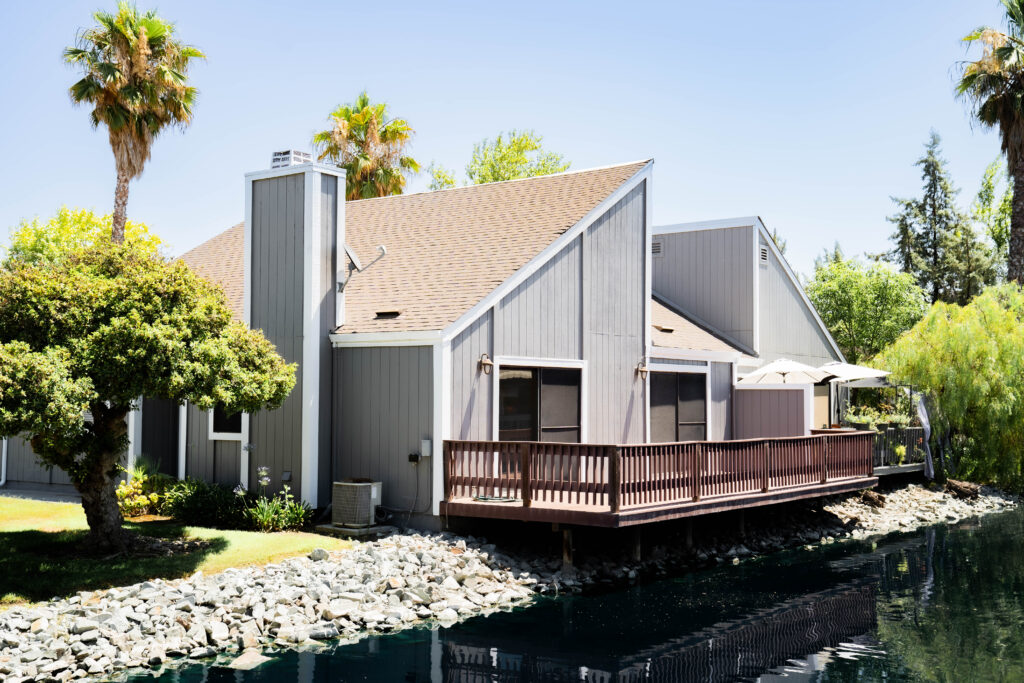
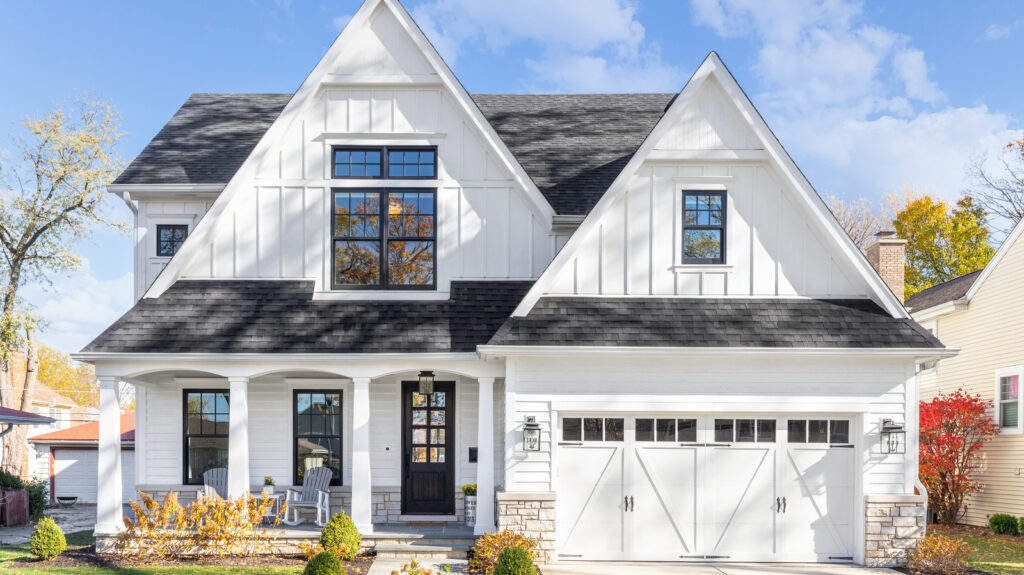
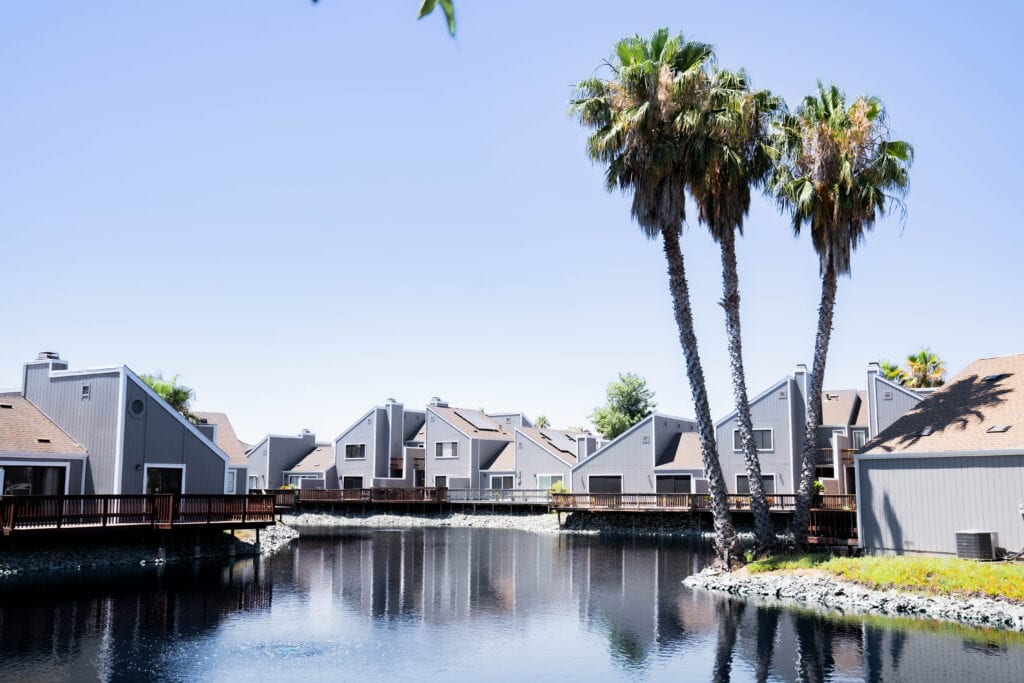
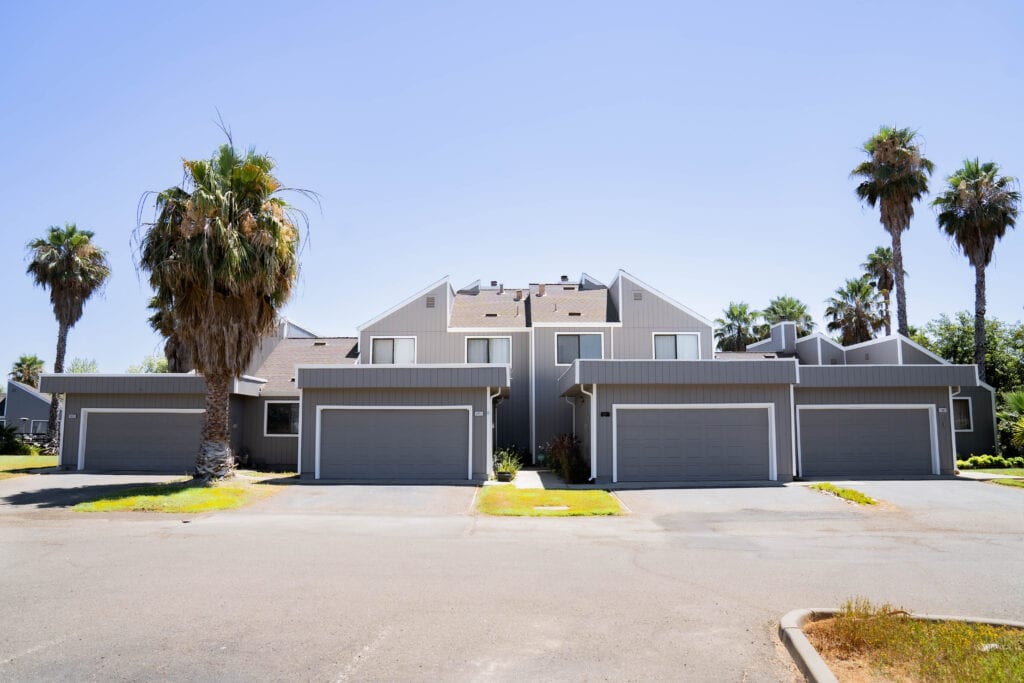
A look at homes we have re-sided and re-glazed across Sacramento, the Bay Area, and Lake Tahoe.

★★★★★ Rated 4.9 from 69 Google reviews
Heritage Exteriors is beyond exceptional. Very impressed with the timeliness, communication, and reasonable price of the whole project.
Heritage replaced my old crumbling wood siding and did a fantastic job. From the first interactions assessing the project and providing a quote, to the project itself, was all exceptional. My home looks brand new.
We recently had our house re-sided with Hardie product. We interviewed 3 companies, one of them being Heritage Exteriors. From our first meeting with David to the last day's work touching up paint, the experience was excellent.