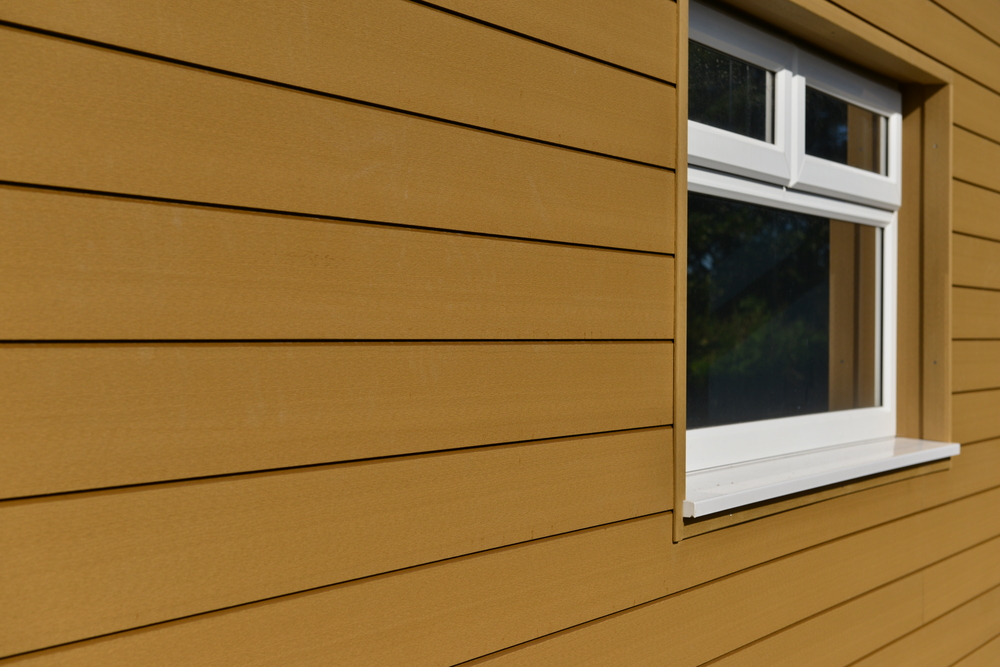
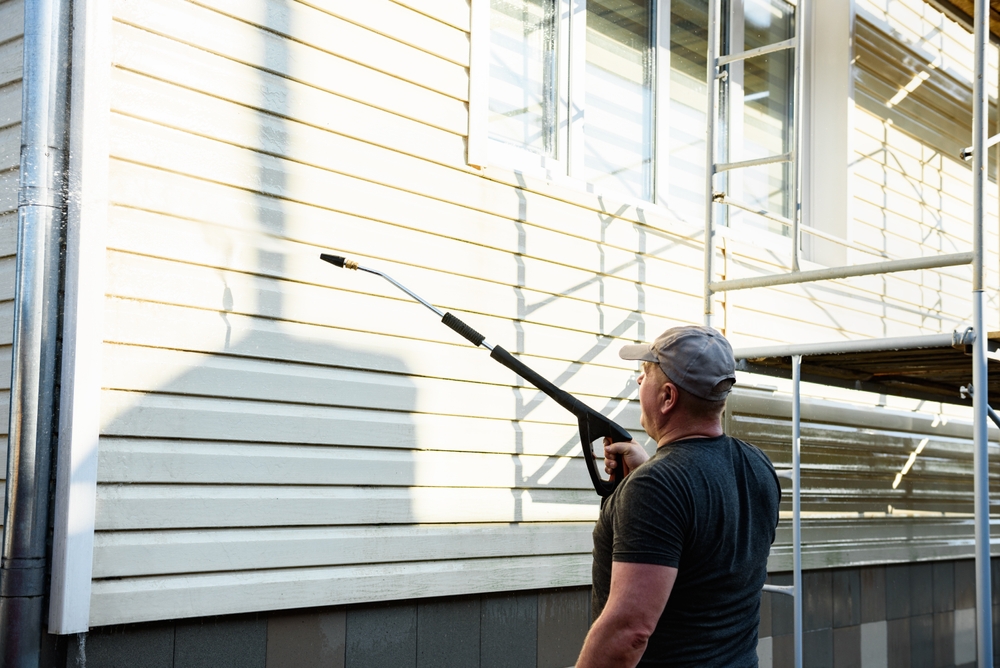
Fiber cement siding is renowned for its exceptional durability. It stands up to harsh sun, heavy rain, and even fire in a way that few other materials can, making it a popular choice for discerning homeowners across Northern California. But while it is incredibly tough, it is not indestructible. An errant ladder, a severe hail storm, or an installation shortcut can lead to chips, cracks, or other damage. When this happens, homeowners are faced with a critical question: is this a simple fix, or is it a sign of a bigger problem?
Deciding whether to repair fiber cement siding or opt for a full replacement is a decision that balances cost, aesthetics, and long-term performance. A well-executed spot repair can be a cost-effective way to restore your home’s pristine look and protective barrier. However, sometimes a repair is just a temporary patch on a systemic issue, and replacement is the wiser investment. This expert guide will walk you through the common types of fiber cement damage, how to determine when it’s worth fixing, and what a professional repair process looks like, so you can make the best choice for your home.
Have a Chip or Crack in Your Fiber Cement Siding?
Don’t let minor damage compromise your home’s premium exterior. Our specialists provide expert fiber cement siding repair for a seamless, durable fix.
Get Your Free, No-Obligation Estimate Today!
What Is Fiber Cement and How Does It Fail?
To understand how to fix it, you first need to understand what it is. Fiber cement is a composite material made from cement, sand, water, and cellulose fibers. This combination creates an incredibly stable and dense board that is resistant to rot, pests, and fire. Brands like James Hardie are well-known examples of this product category.
Unlike wood, it doesn’t rot. Unlike vinyl, it doesn’t melt or become brittle in the sun. Its failure modes are almost entirely related to two things: physical impact and water intrusion at cut edges. Because it is so rigid, a hard-enough impact will cause it to crack or chip rather than dent. And while the factory-finished surface is waterproof, any cuts made during installation must be perfectly sealed to prevent moisture from wicking into the material’s core.
Identifying Common Types of Fiber Cement Damage
Walk around your home and look closely at the siding. Here are the common issues you might find and what they typically mean.
Chips, Gouges, and Corner Damage
This is the most common type of damage. It’s usually caused by a sharp impact, like a rock thrown from a lawnmower or a ladder slipping against a corner. Small chips are often cosmetic, but larger ones can expose the unsealed core of the board to the elements.
Hairline Cracks
These small, thin cracks often appear radiating from an improperly driven nail. If a nail is fastened too close to the end of a board or driven in at an angle, it creates a stress point. Over time, the natural, subtle movements of the house can cause a crack to form at that weak spot.
Major Breaks and Shattered Panels
A severe impact, such as from a major hailstorm or a significant collision, can cause a board to break or even shatter. This is a serious breach in your home’s weather protection and requires immediate attention.
Edge Spalling or Delamination
If you see the edges of a board looking swollen, flaky, or like the layers are peeling apart, this is a clear sign of water damage. It almost always occurs on a cut edge that was not properly primed and sealed during installation, allowing water to get into the core and freeze or expand.
Finish Failure: Peeling or Fading Paint
The factory-applied finish on fiber cement siding is designed to last for 15 years or more. If you see widespread peeling, blistering, or severe, chalky fading, it can be a sign that the siding has reached the end of its functional life or that it was improperly prepared before a repaint.
When Are Spot Repairs Viable?
A targeted fiber cement siding repair is the perfect solution when the damage is localized and the rest of the siding system is healthy.
You should opt for repair when:
- The damage is limited to one or two boards.
- The issue is a minor chip, gouge, or a single hairline crack.
- The surrounding boards are in excellent condition, with no signs of fading or widespread wear.
- Your siding is less than 15-20 years old and is far from the end of its expected lifespan.
You should consider replacement when:
- The damage is widespread across multiple walls of the house.
- You see extensive edge spalling, indicating systemic moisture issues from a poor installation.
- The siding is old, the finish has failed everywhere, and you have multiple cracked or damaged boards. At this point, you will spend more money chasing repairs than if you invested in a single, long-term solution. This is
when to replace siding.
Critical Safety Considerations: The Risk of Silica Dust
This is the most important reason why fiber cement siding repair is often best left to professionals. Fiber cement contains crystalline silica. When the material is cut, drilled, or sanded, it releases fine silica dust into the air. Inhaling this dust is a serious health hazard and can lead to lung disease.
Professionals are required to follow strict OSHA guidelines for managing silica dust. This includes:
- Personal Protective Equipment (PPE): At a minimum, an N95 respirator mask and safety glasses are required.
- Specialized Cutting Tools: Pros use either large shears that cut the board without creating dust or special circular saw blades attached to a HEPA vacuum collection system.
- Wet Cutting: Keeping the board wet during cutting can also help suppress dust.
An uninformed DIYer using a standard saw can create a dangerous cloud of silica dust, endangering themselves and their family.
The Right Tools and Materials for the Job
Repairing fiber cement correctly requires specialized equipment.
- Siding Removal Tools: Pry bars, hammers, and a cat’s paw.
- Cutting Tools: A handheld grinder with a diamond blade, a specialized fiber cement saw blade, or pneumatic shears.
- Fastening Tools: A pneumatic siding nailer is highly recommended for proper nail depth. Stainless steel or hot-dip galvanized siding nails are required.
- Gauges: Gecko Gauges or similar tools are used to hold the boards in place for solo installation and ensure a consistent, level reveal.
- Patching/Sealing Materials: High-quality, paintable elastomeric or polyurethane sealant.
- Sealant for Cut Edges: Primer and paint specifically recommended by the siding manufacturer.
Step-by-Step Professional Repair Methods
The proper way to fix fiber cement siding depends on the specific damage.
Full Board Replacement (The Best Method for Cracks and Breaks)
- Isolate the Board: Carefully remove any caulk from the ends of the damaged board.
- Cut and Fracture: Make a vertical cut through the center of the damaged board. Use a pry bar to carefully break out the two halves. This relieves pressure and prevents damage to the boards above and below.
- Remove the Nails: The top of the board is nailed behind the overlapping panel above it. A pro will carefully pull the nails from this blind-nailed section.
- Inspect the WRB: With the board removed, inspect the water-resistive barrier (house wrap) behind it. Any holes or tears must be repaired with approved contractor tape.
- Prepare the New Board: Cut the replacement board to the exact length needed. Crucially, all cut edges must be primed and painted before installation. This seals them against moisture.
- Install the New Board: Slide the new board into place. Use gauges to ensure it’s level. Face-nail the board according to the manufacturer’s nailing pattern, using the correct corrosion-resistant nails.
- Finish: Caulk the butt joints at the ends of the board with a high-quality sealant, tooling it for a clean finish. Touch up any nail heads with matching paint.
Patching Small Chips and Defects
For a very small chip where a full board replacement isn’t practical, a patch can work.
- Clean the damaged area thoroughly.
- Apply a high-quality, cementitious patching compound or a two-part epoxy filler.
- Shape the patch to match the profile of the siding, including any wood grain texture.
- Once cured, sand it carefully (while wearing a respirator) and prime and paint to match.
Sealing and Refinishing
If the only issue is failing paint, the boards can be refinished. This involves a thorough cleaning, light sanding or scuffing, priming, and applying a high-quality acrylic exterior paint. This is a large-scale job that is often best left to professional painters.
The Importance of Flashing and WRB Integrity
When a repair is performed, it offers a rare window to inspect the hidden water management system. A professional will always check the condition of the house wrap and the flashing above and below the repair area. If a flashing detail was missed during the original installation, a good contractor will correct it during the repair to prevent future water intrusion. This is a critical value-add that a simple DIY patch can’t provide.
Strategies for a Perfect Color Match
Matching the color of a single replacement board to a wall of sun-faded siding is an art.
- Bring a Sample: The best method is to take a piece of the broken siding to a quality paint store. They can use a spectrophotometer to analyze the color and create a custom-matched exterior paint.
- Feathering the Paint: A professional painter won’t just paint the new board. They may lightly “feather” the new paint onto the edges of the surrounding boards to help the repair blend in more naturally.
- Accepting a Slight Difference: Be aware that a perfect match is very difficult. The sheen and texture of a new coat of paint will look slightly different from an old finish, but this difference will become less noticeable over time as the new paint weathers.
If you have a larger project in mind, our primary Siding Repair page offers a broader overview of our services.
The Final Verdict: Making the Repair vs. Replacement Decision
Use these factors to make a final call:
- Age of Siding: If your siding is 20+ years old and showing widespread wear, replacement is a smarter long-term investment. Explore your options on our Siding Replacement page.
- Scope of Damage: Is the damage on 5% of your home, or 30%? The 20% rule is a good guideline: if more than 20% of your siding is damaged or failing, replacement is usually more cost-effective than a series of repairs.
- Presence of Moisture: If you have signs of underlying rot or moisture, you need to remove the siding anyway to fix the structure. This is a clear indicator for replacement.
- Warranty: Is your siding still under warranty? A professional repair done to manufacturer specifications may be covered. A DIY repair will not be.
A professional siding repair Sacramento contractor can help you weigh these factors and provide a clear, honest recommendation.
Protect Your Investment with a Professional Fiber Cement Repair.
Our team has the specialized tools, safety protocols, and expertise to repair your fiber cement siding correctly, ensuring a durable and seamless result.
Contact Us for a Free and Detailed Project Estimate!
Frequently Asked Questions
Q1: Can I drill into my fiber cement siding to hang things?
A: Yes, but you must use a masonry bit and pre-drill the hole. A standard wood bit will not work and can damage the siding. It’s also critical to seal the hole with caulk around the screw or anchor to prevent water intrusion.
Q2: Why can’t I just use caulk to fill a crack in my fiber cement siding?
A: While caulk can provide a temporary seal, it is not a structural repair. A crack indicates the board has failed under stress. A caulk-filled crack will be highly visible and is likely to reopen over time. Replacing the board is the only correct, permanent solution.
Q3: How long does a professional fiber cement board replacement take?
A: For a single, easily accessible board, a skilled technician can typically complete the entire repair—from removal to final touch-up painting—in just 2 to 4 hours.
Q4: Is fiber cement siding considered a “green” or sustainable product?
A: Yes, it is often considered a sustainable choice. It is made from common, readily available materials (sand, cement, wood pulp) and is extremely long-lasting, which reduces the need for frequent replacement and landfill waste. Many products also contain recycled materials.


