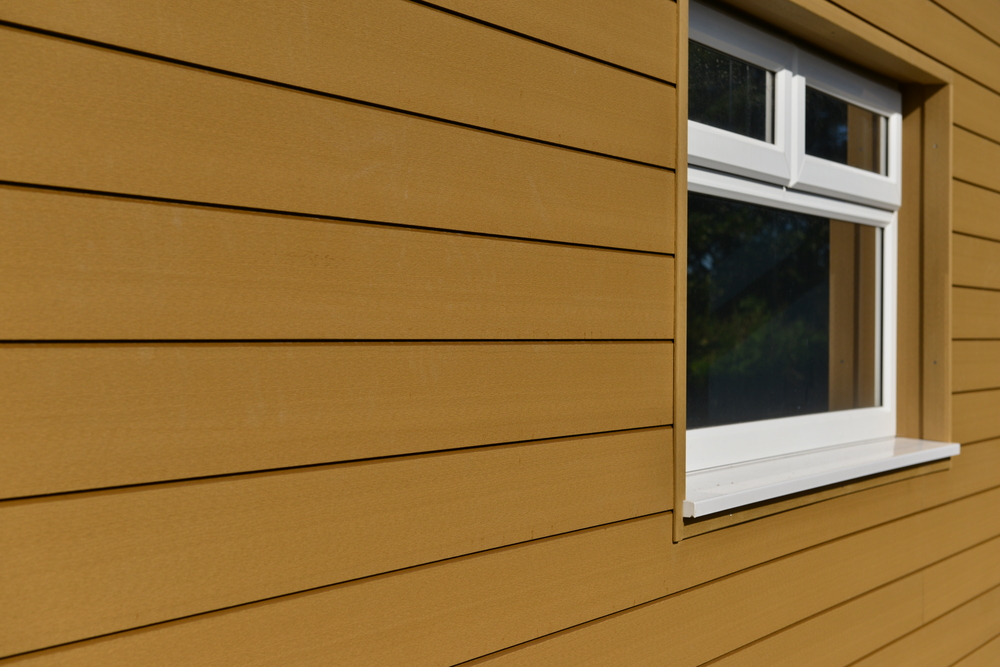
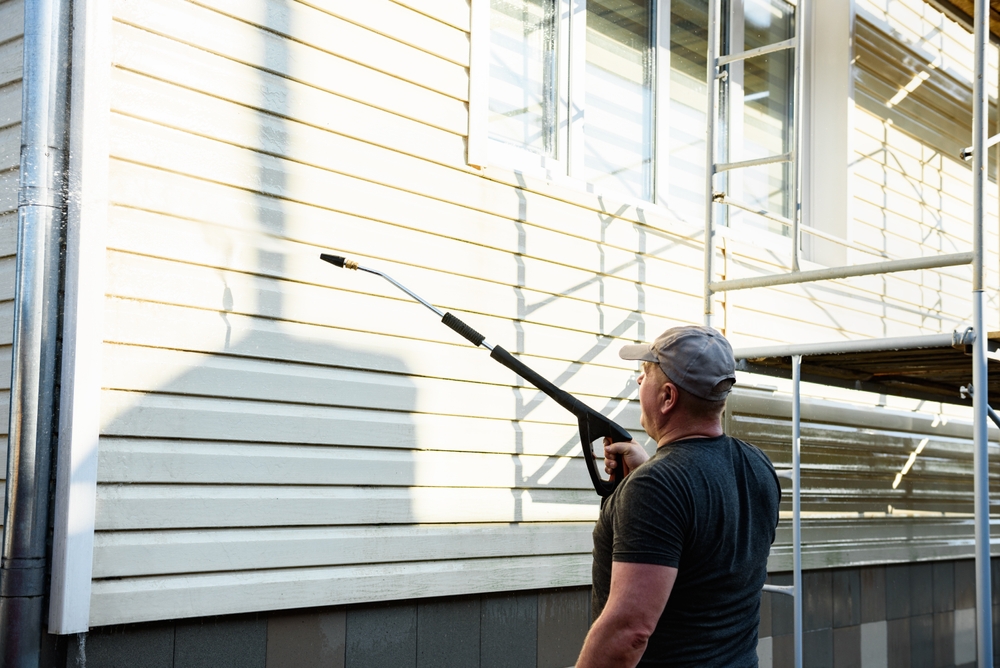
Engineered wood siding, such as the popular LP SmartSide, offers a fantastic combination of traditional wood beauty and modern durability. It’s designed to resist many of the common issues that plague natural wood, like rot and pests. However, no siding material is completely immune to damage. Homeowners across Northern California might eventually notice concerning signs like swollen bottom edges, peeling surface layers, or damage at the seams. These are classic symptoms of failure in engineered wood siding, and they almost always point to one single culprit: moisture.
Understanding what causes edge swelling siding and delamination is the first step toward a successful repair. The key to preserving your siding and protecting your home is to catch these issues early and address them correctly. A proper engineered wood siding repair can stop the damage in its tracks and seamlessly restore your home’s exterior. An improper fix, however, can trap moisture and make the problem worse. This expert guide will explain how engineered wood fails, how to diagnose the damage, and the best-practice methods to fix it for a durable, long-lasting solution.
Seeing Swelling or Peeling on Your Engineered Wood Siding?
Don’t wait for moisture damage to spread. Our siding specialists can diagnose the issue and perform an expert repair to protect your home’s structure and appearance.
Get Your Free, No-Obligation Siding Estimate Today!
What Is Engineered Wood Siding?
Engineered wood siding is a composite product made from wood strands or fibers that are coated with waxes and advanced resins, then compressed under intense heat and pressure. This process creates a dense, stable, and strong board. An exterior-grade overlay is then applied, which is factory-primed and often pre-finished with a durable paint coat. This multi-layer construction gives the siding its strength and resistance to fungal decay and termites.
However, its core is still wood fiber. While the resins and waxes provide excellent moisture resistance, the product’s ultimate weak point is any cut edge that is not properly sealed. If water finds a way into the unsealed core, it will absorb that moisture like a sponge, leading to the most common types of failure.
Common Failure Modes and What They Mean
When you inspect your siding, you’re looking for specific signs of moisture intrusion. Here’s what to look for and what it indicates.
Swelling at the Drip Edge
This is the number one sign of trouble. Look at the bottom edge of your siding panels, especially the courses closest to the ground or rooflines. If this “drip edge” looks swollen, puffy, or feels soft, it means water is wicking up into the core of the board. This is often caused by the bottom cut edge not being sealed during installation or by the siding being installed too close to the ground, a roof, or a deck, where it sits in contact with water.
Delamination and Surface Peeling
If you see the top layer of your siding bubbling, flaking, or peeling away from the core, this is delamination. It’s a serious sign that water has gotten behind the surface layer, causing the adhesives to fail. This can happen due to a deep scratch that broke the surface, or from moisture wicking up from an unsealed edge and spreading.
Swelling and Flaking at Butt Joints
Inspect the vertical seams where two siding boards meet end-to-end. If the paint is cracking and the board ends look swollen or are flaking apart, it’s another clear indicator that the cut ends were not properly sealed before installation. Water gets into the joint and is absorbed by the exposed cores of both boards.
Impact Damage (Cracks and Holes)
Engineered wood is very strong, but a severe impact from a rock, hail, or a tool can still cause a crack or a hole. Any break in the protective surface layer is a potential entry point for water and must be sealed promptly.
Your Engineered Wood Siding Inspection Checklist
Perform this check twice a year and after any major storm.
- Check the Drip Edges: Walk the entire perimeter and look closely at the bottom edge of every siding panel. Feel for any puffiness or softness.
- Inspect Butt Joints: Look for cracked caulk or swollen board ends at all vertical seams.
- Probe for Soft Spots: Use the handle of a screwdriver or your thumb to press firmly on suspicious areas. Healthy siding is firm and solid. Any sponginess indicates underlying water damage.
- Check Clearances: Measure the gap between the bottom of your siding and any surface below it (ground, decks, patios, rooflines). You should have at least 6-8 inches of clearance to the ground and 1-2 inches to a hard surface like a roof or deck. Lack of clearance is a primary cause of
fix swollen sidingissues. - Look for Finish Failure: Note any areas with peeling or blistering paint.
Essential Tools and Materials for a Proper Repair
Repairing engineered wood requires careful attention to detail and the right products.
- Cutting Tools: Circular saw with a fine-tooth blade, jigsaw.
- Removal Tools: Pry bar, hammer, cat’s paw.
- Fastening: Siding nailer (recommended), hot-dip galvanized or stainless steel siding nails.
- Sealing and Patching:
- High-quality acrylic latex primer.
- Manufacturer-recommended exterior-grade wood filler or epoxy filler.
- Paintable, ASTM C920 compliant elastomeric sealant for joints.
- Safety Gear: Safety glasses, gloves, dust mask.
Step-by-Step Professional Repair Methods
The right repair technique depends on the severity of the damage.
Sealing and Repainting Minor Edge Damage
This is a preventative measure for when you catch swelling early and it is purely cosmetic.
- Dry the Area: Ensure the siding is completely dry.
- Sand the Swelling: Lightly sand the swollen edge to remove any loose fibers and to try and flatten the profile.
- Seal the Edge: Apply two coats of high-quality exterior acrylic latex primer to the entire bottom edge, ensuring it is fully coated.
- Paint to Match: Once the primer is dry, apply two coats of matching exterior paint. This re-seals the edge against future water intrusion.
Scarf or Patch Repair for Localized Damage
For a small area of rot or delamination in the middle of a board, a patch can be used.
- Remove Damaged Area: Use a saw or router to cut out the damaged section, creating a clean, rectangular pocket.
- Create a Patch: Cut a new piece of engineered wood siding to fit the pocket perfectly.
- Seal All Cuts: Meticulously prime and paint all cut edges of both the patch and the pocket in the existing siding. This step is critical.
- Install the Patch: Secure the patch in place with adhesive and a few finishing nails.
- Finish: Fill the nail holes, caulk the seams with a proper sealant, and paint the repair to match.
Full Board Replacement (The Best Solution for Significant Damage)
If a board has significant swelling, delamination, or a major crack, replacement is the only guaranteed fix. This is the most common professional approach for repair LP SmartSide and similar products.
- Remove the Old Board: Carefully cut the damaged board into a smaller section and use a pry bar to remove it. You will need to gently pry up the board above to access and remove the blind nails.
- Inspect WRB and Flashing: This is a vital step. With the board removed, inspect the house wrap (Water-Resistive Barrier) for any tears and check the flashing details around windows and doors. A professional from a
siding repair Sacramentocompany will repair the WRB with approved tape and correct any flashing errors before proceeding. - Prepare the New Board: Cut the new board to length. You must seal all cut edges with primer and paint before installation. This is the single most important step to prevent a repeat failure.
- Install and Fasten: Slide the new board into place, maintaining the proper gap at the butt joints (typically 3/16 inch). Nail it according to the manufacturer’s instructions.
- Seal and Paint: Caulk the vertical butt joints (but never the horizontal lap joints) with the correct sealant. Touch up all nail heads with matching paint.
The Crucial Role of Prevention
The best way to fix engineered wood siding is to never let it fail in the first place.
- Ensure Proper Clearances: Maintain the required gaps between your siding and other surfaces. This might involve re-grading soil away from your foundation or trimming deck boards.
- Check Your Sprinklers: Adjust sprinkler heads to spray away from your walls. Chronic wetting is a death sentence for the bottom edge of siding.
- Maintain Your Paint Finish: A healthy coat of paint is the siding’s armor. Inspect it annually and touch up any chips or scratches immediately.
- Keep Vegetation Trimmed: Keep shrubs and trees at least 12-18 inches away from your siding to allow for airflow and drying.
When to Call a Professional Siding Contractor
While a very handy homeowner might tackle a minor sealing job, most engineered wood repairs are best left to the pros. Call a professional when:
- The damage involves swelling or delamination (indicating moisture intrusion).
- A full board replacement is necessary.
- You suspect the underlying sheathing may be damaged.
- The work is on a second story or requires tall ladders.
- You want to ensure the repair is done to manufacturer specifications to protect your warranty.
If the damage is widespread across multiple walls, it’s a sign of systemic failure, and it’s when to replace siding. At that point, spot repairs are no longer a sound investment. Our Siding Replacement page can provide more information on your options. For targeted fixes, see our primary Siding Repair page.
Protect Your Home from Moisture Damage.
Don’t let swollen or peeling siding lead to costly structural problems. Our team specializes in expert engineered wood repairs that stop moisture and restore your home’s beauty.
Contact Us Today for a Thorough Siding Evaluation!
Frequently Asked Questions
Q1: Why is there a gap at the vertical joints of my engineered wood siding? Shouldn’t it be tight?
A: No, that gap is intentional and required by the manufacturer. Engineered wood expands and contracts with changes in temperature and humidity. The 3/16-inch gap at the butt joints allows for this movement without the boards buckling or damaging each other. The flashing behind the joint is what keeps the water out.
Q2: Can I paint my engineered wood siding?
A: Yes, absolutely. Engineered wood holds paint very well. It’s critical to properly clean and prep the surface and use a high-quality, 100% acrylic latex exterior paint. A fresh paint job is one of the best ways to maintain and protect your siding.
Q3: The previous homeowner used caulk in the horizontal laps between my siding boards. Is that okay?
A: No, that is a serious mistake. The horizontal laps must be left open to allow any water that gets behind the siding to weep out. Caulking them traps moisture, which can lead to rot in the sheathing and framing. This caulk should be carefully removed by a professional.
Q4: My siding was installed directly against my deck. What can I do?
A: This is a common installation error that leads to swelling. The correct fix is to remove the bottom course of siding, install a proper piece of flashing that extends over the deck ledger, and then re-install the siding with the required 1-2 inch clearance above the deck boards. This creates a drainage plane and prevents water from wicking into the siding.


