Even the best siding materials can fail if they’re not installed correctly. When you invest in fiber cement siding, you’re not just paying for the product — you’re paying for precision. Proper installation is what keeps your home protected from moisture, prevents premature wear, and ensures your siding looks sharp for decades.
In California’s mix of hot summers, rainy winters, and mountain snow, small installation mistakes — like poor flashing, overdriven nails, or gaps at the joints — can lead to big problems down the road. That’s why choosing a contractor who follows manufacturer guidelines and proven techniques is critical.
At Heritage Exteriors, our crews follow James Hardie’s exact installation standards, using best practices refined through years of local experience. Here’s what proper fiber cement siding installation looks like, what can go wrong when shortcuts are taken, and how we make sure your home’s exterior stands the test of time.
Why Installation Quality Is Just as Important as the Siding Itself
You can choose the most advanced, durable siding in the world, but its performance hinges entirely on the skill of the hands that install it. The siding panels are just one part of a complete system designed to protect your home.
The Hidden Difference Between “Installed” and “Installed Right”
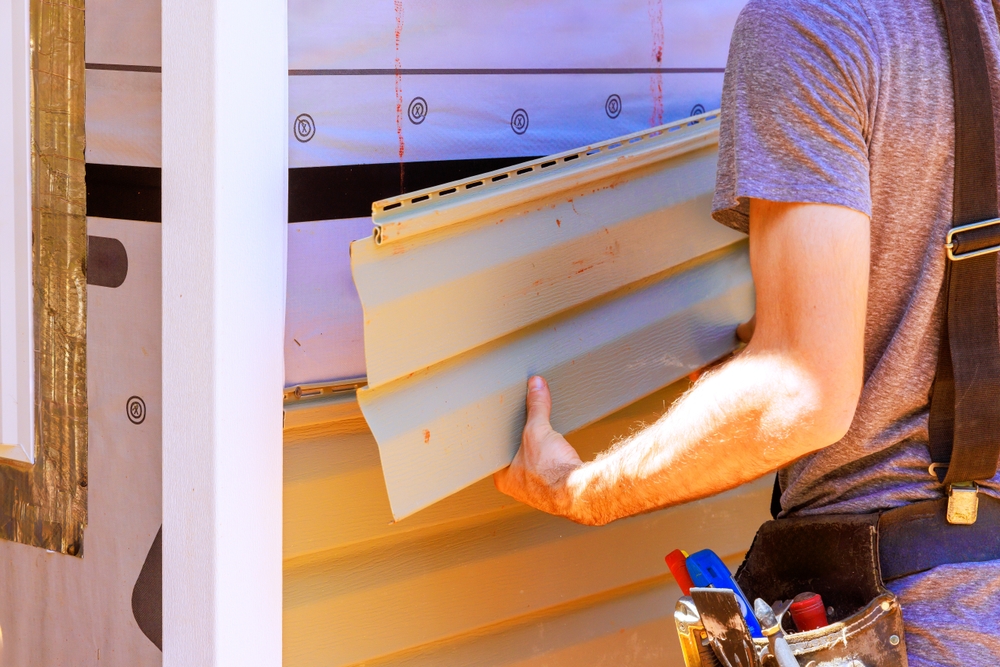
From the street, two new siding jobs might look identical. But the difference is in the details you can’t see. “Installed right” means every cut is precise, every nail is set to the perfect depth, and every seam is protected against water. It means the crew took the time to properly install the weather-resistive barrier and flashing behind the siding. “Installed” might just mean the panels are attached to the wall, leaving your home vulnerable to the elements.
How Proper Technique Extends the Life of Fiber Cement Siding
Fiber cement is designed to last 50 years or more, but it can only achieve that lifespan if installed correctly. Proper installation allows the siding to expand and contract naturally with temperature changes, sheds water effectively, and resists wind uplift. A professional installation doesn’t just make the siding look good; it enables the material to perform as engineered.
What Happens When Corners Are Cut During Installation
Cutting corners during installation is a recipe for disaster. It might save a few dollars on the initial quote, but it leads to costly failures down the road. Common shortcuts, like skipping flashing or using the wrong nails, can result in widespread water damage, rot in your home’s structural framing, persistent mold issues, and the need for a complete siding replacement in just a few years.
Common Installation Mistakes That Shorten Siding Lifespan
Unqualified or rushed contractors often make a few common but critical errors. Knowing what these are helps you spot shoddy work and understand the value of hiring a true professional.
Improper Flashing and Water Intrusion Around Openings
Flashing is arguably the most critical and most frequently botched part of a siding job. These metal or vinyl strips are designed to direct water away from the most vulnerable parts of your home: windows, doors, and roof-to-wall intersections. When flashing is missing, installed incorrectly, or made from the wrong material, water channels directly behind the siding, where it becomes trapped and rots your walls from the inside out.
Gapping, Overlapping, and Nail Placement Errors
Fiber cement siding requires specific clearances and joint treatments.
- Improper Gapping: Panels need a small gap at the butt joints to allow for slight expansion. If installed too tight, panels can buckle under the Sacramento sun. If too loose, they create entry points for water.
- Incorrect Nailing: Nails must be placed at a specific distance from the top and edges of the panel. Nailing too close to the edge can cause it to crack or break off.
- Face Nailing: In most applications, lap siding should be “blind nailed” near the top of the board so the next course covers the nail. “Face nailing” through the visible front of the board is often a sign of an amateur and can create moisture entry points.
Overdriven Nails and Their Long-Term Impact on Siding Performance
This is one of the most common and damaging mistakes. An overdriven nail—one that is driven too deep with a nail gun—fractures the surface of the fiber cement panel. This “bruise” shatters the material’s integrity, creating a spiderweb of micro-cracks that absorb water. Over time, this moisture can cause the panel to delaminate or crumble around the nail head, leading to loose siding and a compromised weather barrier.
Quick Check: Look at a siding job in progress. Does every nail head sit perfectly flush with the surface of the siding? If you see nails punched deep into the board, it’s a clear sign of an overzealous and undertrained installer.
Inadequate Clearance from Ground or Roofing Materials
Fiber cement siding should never be in direct contact with the ground, concrete, or roofing shingles. James Hardie specifies a minimum of 6 inches of clearance from the ground and 1-2 inches from roofing surfaces. This gap prevents the siding from wicking up moisture from soil or absorbing water runoff from the roof, which can lead to long-term deterioration.
Hardie Installation Best Practices Every Contractor Should Follow
A professional, certified contractor doesn’t guess. They follow a precise set of manufacturer-mandated guidelines to ensure a perfect, weatherproof installation.
Using the Right Tools and Fasteners for Fiber Cement
Fiber cement requires specialized equipment. Crews should use shears or special saw blades designed to minimize dust when cutting panels. Most importantly, they must use the correct fasteners. This means corrosion-resistant, hot-dip galvanized or stainless steel nails of the proper gauge and length, depending on whether they are nailing into wood studs or steel framing.
Following Manufacturer Guidelines and Weatherproofing Standards
James Hardie provides an exhaustive set of installation requirements that cover everything from how to handle the panels to the specific type of caulk to use. This includes the proper installation of a weather-resistive barrier (WRB or “house wrap”) behind the siding, ensuring it’s lapped correctly and all seams are taped to create a continuous shield against water and air infiltration.
Ensuring Proper Ventilation and Expansion Gaps
A professional crew understands that a wall needs to breathe. They ensure proper clearances are maintained and that the siding system is integrated with the home’s attic and foundation ventilation. They are also meticulous about leaving the correct 1/8-inch gap at butt joints and where siding meets trim, allowing the material to move naturally without buckling or stress.
Importance of On-Site Supervision and Crew Training
A quality-focused company like Heritage Exteriors invests in its people. We don’t use subcontractors. Our in-house crews undergo continuous training, and every project has a dedicated on-site foreman supervising the work. This ensures that best practices are followed consistently and that any issues are addressed immediately, guaranteeing a high-quality result.
Why Certified Installers Make All the Difference
Choosing a contractor with the right credentials is the single easiest way for a homeowner to ensure a quality installation.
What It Means to Be a James Hardie Preferred Contractor
This designation isn’t a marketing gimmick. To become a James Hardie Preferred Contractor, a company must demonstrate a long history of quality installations, maintain a high level of customer satisfaction, be fully licensed and insured, and pass regular audits of their work by a James Hardie representative. It is the manufacturer’s way of telling homeowners, “This company knows how to install our products correctly.”
Certification Requirements and Quality Assurance Testing
James Hardie provides certified installers with ongoing training on new products and updated installation techniques. Their random audits ensure that contractors are consistently meeting their stringent standards for nail placement, flashing details, and job site management.
Warranty Protection You Only Get with Certified Installation
The robust 30-year warranty on James Hardie siding is a major selling point. However, that warranty can be voided if the material is not installed according to the manufacturer’s written specifications. Hiring a James Hardie Preferred Contractor is your best assurance that the installation will be done by the book, fully protecting your warranty and your investment.
Heritage Exteriors’ Proven Siding Installation Process
Our reputation is built on a foundation of trust and a meticulous, proven process that leaves nothing to chance. We combine technical expertise with a commitment to professionalism from start to finish.
Thorough Prep — Inspections, Weather Barriers, and Surface Readiness
Our process begins with a full tear-off of your old siding. This allows us to conduct a thorough inspection of your wall sheathing, replacing any rotted or damaged sections. We then install a new, high-quality WRB, carefully taping all seams and integrating it with window and door flashing to create a seamless drainage plane.
Precision Installation — Alignment, Nail Depth, and Joint Sealing
Our certified crews then begin the installation. They use layout lines to ensure every course is perfectly level. They use nail guns calibrated to the exact depth so that every fastener sits flush without damaging the panel. They leave precise gaps at all joints and properly seal and flash every potential point of water entry.
Clean Finish — Flashing, Trim Work, and Final Quality Checks
As the job progresses, our foreman conducts ongoing quality checks. The final stage involves installing trim, soffit, and fascia with the same precision as the siding. Once complete, we perform a final, comprehensive walkthrough with you, the homeowner, to ensure every detail meets your satisfaction and our high standards.
Pro Tip: A professional crew respects your property. Our teams at Heritage Exteriors maintain a clean and organized job site every day, and we perform a thorough cleanup at the end of the project, leaving your home better than we found it.
Why Our Clients in Sacramento, Bay Area & Tahoe Trust Our Work
We have been serving Northern California since 2014. Our clients trust us because we communicate clearly, deliver on our promises, and our work stands the test of time—whether it’s resisting the wind-driven rain in the Bay Area, the intense sun in Sacramento, or the heavy snow loads in Tahoe.
Long-Term Benefits of Expert Installation
Investing in a professional, certified installation provides tangible benefits that last for the life of your home.
Extended Warranty Coverage and Fewer Repairs
By adhering to every manufacturer guideline, we ensure your valuable 30-year product warranty is fully intact. More importantly, our quality craftsmanship dramatically reduces the likelihood that you’ll ever need to make a warranty claim or pay for costly repairs due to installation errors.
Better Energy Efficiency and Weather Resistance
A meticulously installed siding system, complete with a properly sealed WRB, creates a superior air and water barrier. This reduces drafts and helps your home’s insulation perform more effectively, leading to more stable indoor temperatures and potentially lower energy bills.
Long-Lasting Curb Appeal and ROI
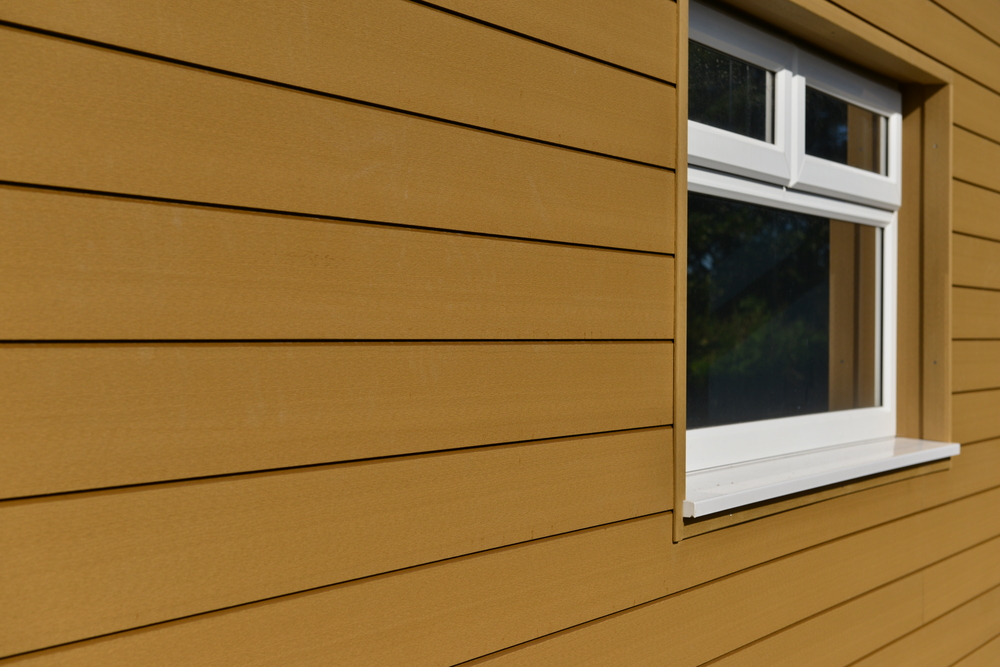
A precision installation looks better from day one and stays looking good for years. The clean lines, perfect seams, and flawless finish contribute directly to your home’s curb appeal and market value. When it comes time to sell, a home with expertly installed James Hardie siding is a major asset.
Schedule a Siding Consultation with Heritage Exteriors
Don’t risk your home’s future with a questionable installation. Partner with a trusted, certified expert who guarantees their work and has a proven track record of success across Northern California.
Get a Free Quote for Fiber Cement Installation or Replacement
Let our team provide you with a transparent, detailed, and no-pressure estimate for your siding project.
Learn About Our James Hardie Preferred Contractor Status
Ask us what our certification means and how it benefits you as a homeowner. We’re proud to share our credentials.
Ask About Financing Options for Your Remodel
We offer flexible financing solutions to help you afford the quality installation your home deserves. Contact Heritage Exteriors today at 916-546-2991 to schedule your free, in-depth consultation.


