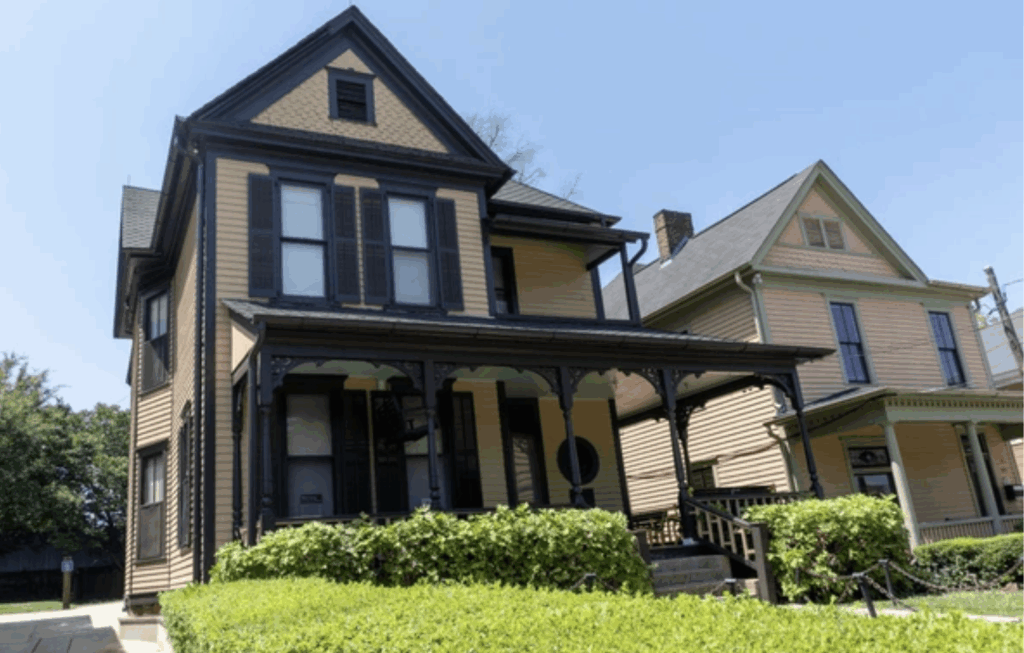
Owning a historic home in Placerville is a unique responsibility. These buildings, with their deep roots in the Gold Rush era, are more than just houses; they are tangible pieces of our community’s heritage. As a steward of one of these properties, you know that maintaining its exterior is crucial for both protection and preservation. Siding repair on a historic home isn’t about just patching a hole—it’s about honoring the original craftsmanship while ensuring the structure stands strong for generations to come.
This guide is for Placerville homeowners who are facing the challenge of repairing or restoring their home’s historic siding. We’ll cover how to identify common problems, choose period-appropriate materials, and apply techniques that respect your home’s character. Our goal is to provide the expert, preservation-minded advice you need to protect your historic treasure.
Common Siding Problems in Older Placerville Homes
The climate of the Sierra foothills, with its wet winters and intensely sunny summers, is tough on building materials, especially the wood siding found on older homes. Over a century or more, these elements can lead to specific types of deterioration that require a careful and knowledgeable approach to repair.
Rot, Warping, and Termite Damage
Three issues stand out as the most common threats to historic siding in our area:
- Rot: This is the number one enemy. Moisture is the cause, whether from rain, leaking gutters, or splashback from the ground. Look for wood that is soft, spongy, or crumbly to the touch. Pay close attention to the bottom course of siding near the foundation, areas under windowsills, and around corner boards. These are hotspots for moisture intrusion.
- Warping and Cupping: The cycles of wetting and drying, combined with intense UV exposure, can cause wood boards to warp, cup, or split. This not only detracts from the home’s appearance but also opens up gaps that allow more water to get behind the siding, accelerating decay.
- Termite Damage: Subterranean termites are active in our region and can cause devastating damage to the wood framing and siding of a home. Look for mud tubes on the foundation, hollow-sounding wood, or a maze-like pattern of tunnels within the wood itself.
A quick walk around your home can reveal potential issues. Gently poke suspect areas with a screwdriver; if it sinks in easily, you have rot. Look along the length of boards for any visible bowing or cracking.
How to Identify Original Siding Materials
Before you can repair historic siding, you must know what you’re working with. Most Placerville homes from the 19th and early 20th centuries used specific types of wood siding. Here’s how to identify them:
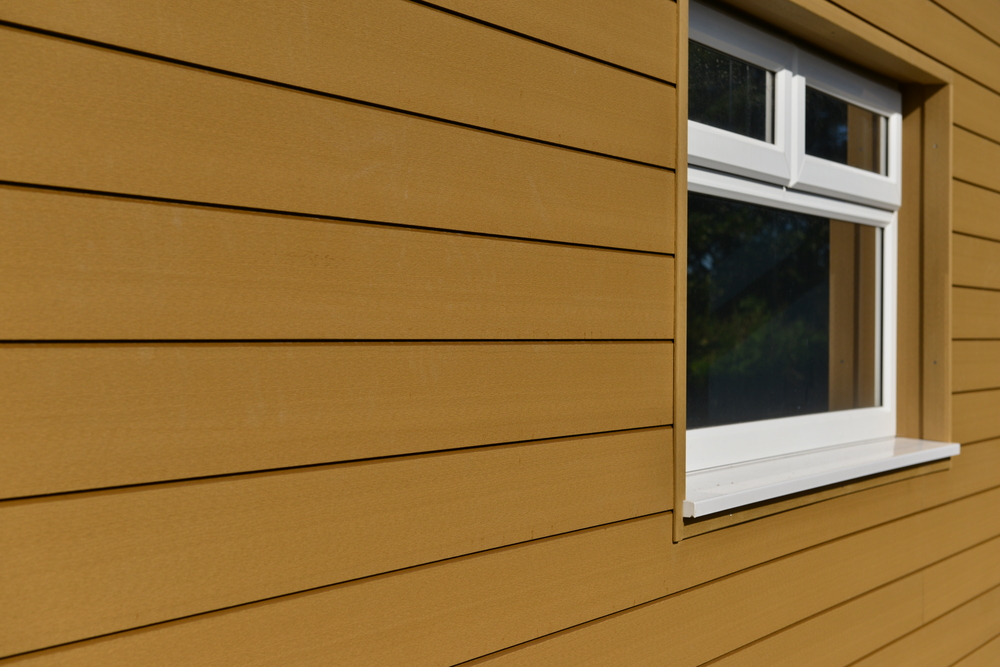
- Clapboard (or Bevel Siding): This is the most common type. It consists of tapered boards installed horizontally with a slight overlap (called the “reveal”). Look for the distinctive shadow line created by the overlap. Original clapboard often has a unique reveal dimension not found in modern siding.
- Shiplap: These are horizontal boards with a special rabbeted or grooved edge (like an “L” shape) that allows them to interlock. This creates a flatter, more weatherproof surface than clapboard with tighter, more subtle joint lines.
- Board-and-Batten: This is a vertical siding style. It features wide boards spaced slightly apart, with narrower boards (the battens) covering the gaps. It creates a rustic, barn-like appearance often found on vernacular Gold Rush–era buildings.
- Wood Shingles: Often used as an accent in gables or on upper stories of Victorian homes, these are thin, tapered pieces of wood installed in overlapping courses.
Clues to authenticity include original cut nails (with square heads), subtle variations in board width, and visible saw marks from historic milling processes.
Choosing the Right Replacement Boards and Finishes
When a board is too damaged to save, the goal is to replace it with a new piece that is as close to the original as possible. This requires careful material and finish selection.
- Matching the Wood Species: Most original siding in our area was made from old-growth redwood or cedar, which are naturally resistant to rot and insects. When replacing boards, using the same species is ideal. Select a grade of wood with a grain pattern that matches the surrounding original boards.
- Custom Milling: Standard off-the-shelf siding from a big-box store will rarely match the profile and thickness of historic siding. To achieve a seamless repair, new boards often need to be custom-milled to the exact dimensions of the original.
- When to Use Modern Alternatives: In some cases, especially for repairs on less visible parts of the home or where an entire wall needs replacement, modern materials like fiber cement or engineered wood can be considered. These products can be ordered in profiles that mimic historic wood but offer greater fire resistance and lower maintenance. This is an option that should be discussed with local preservation authorities.
- Choosing Finishes: The finish protects the wood. Back-priming—priming all six sides of a new board before installation—is essential. Use a high-quality oil-based primer for new wood, followed by a breathable acrylic latex topcoat. This system allows the wood to release moisture vapor, preventing paint peeling and blistering.
Techniques for Blending New and Old Siding Seamlessly
The mark of a true craftsman is a repair that you can’t see. Making new wood blend in with 150-year-old siding takes skill and patience.
- Scarf Joints: Instead of cutting a board straight across (a butt joint), cutting the ends at a long, complementary angle (a scarf joint) creates a much stronger and less visible seam that is more resistant to water intrusion.
- Staggered Joints: When replacing several boards in one area, the end joints should be staggered, not lined up vertically. This mimics original installation practices and helps hide the repair.
- Dutchman Patch: For smaller, localized areas of damage, a “Dutchman” patch can be used. This involves carefully cutting out the damaged section in a precise shape (like a trapezoid) and fitting in a new, perfectly matched piece of wood.
- Distressing and Paint-Out: A freshly painted new board will stand out against weathered paint. Techniques can be used to lightly distress the new board and feather the new paint into the old to create a more gradual, natural-looking transition.
The Role of Paint, Sealant, and Weatherproofing
A successful siding repair is also a weatherproofing upgrade. It’s an opportunity to correct issues that may have led to the original damage.
- Back-Priming and End-Grain Sealing: As mentioned, all new wood must be primed on all sides before it goes on the wall. The cut ends of boards are especially absorbent, so sealing the end grain with primer is a critical step to prevent water from wicking up into the wood.
- Flashing and Weather-Resistive Barriers (WRB): Proper metal flashing must be installed above all windows and doors and at any roof-to-wall intersections to direct water away from openings. While historic homes were not built with house wrap, a modern WRB can be integrated behind repaired sections to provide a crucial secondary layer of moisture protection.
- Caulk Selection: Use a high-quality, flexible, and paintable elastomeric or polyurethane sealant for gaps. Avoid sealing the bottom edge of horizontal lap siding, as this can trap water behind the boards.
Siding Repair vs Full Restoration
Deciding whether to perform targeted repairs or undertake a full restoration is a major decision based on several factors:
- Percentage of Damage: If less than 20-25% of your siding is damaged, a repair-focused approach is often the most sensible and cost-effective. If the damage is widespread, a full restoration (complete removal and siding replacement) may be a better long-term investment.
- Structural Issues: If the siding damage is a symptom of underlying rot in the wall sheathing or framing, a full tear-off is necessary to address these critical structural problems.
- Historical Significance: If the original siding is particularly unique or significant, every effort should be made to preserve as much of it as possible, favoring meticulous repairs over replacement.
- Budget: Targeted repairs can be phased over time to fit a budget. A full restoration is a major capital investment but addresses all issues at once.
Maintaining Historic Aesthetics During Repairs
Preserving your home’s historic character is the primary goal. Every detail matters.
- Reveal and Exposure: The amount of each siding board that is visible (the “reveal” or “exposure”) is a key design element. A proper repair will precisely match the reveal of the original siding.
- Trim and Corner Boards: Pay attention to the style of the original corner boards, window trim, and fascia. These elements should be repaired with matching materials and profiles.
- Color Palettes: Research historic color palettes appropriate for your home’s architectural style and era. When selecting colors, always test large swatches on the wall and observe them in different light conditions throughout the day before making a final decision.
Permits and Local Preservation Guidelines
Placerville has a designated historic district, and any exterior work on homes within this area typically requires review and approval from the city. The goal is to ensure that repairs and renovations are sympathetic to the historic character of the building and the neighborhood.
The process generally involves submitting an application detailing the proposed work, including the materials and techniques you plan to use. Working with a contractor who is experienced in navigating the local preservation guidelines can be a significant advantage. They can help you prepare the necessary documentation and ensure your project meets the required standards, leading to a smoother approval process.
Cost Breakdown of Historic Home Repairs
The cost of historic siding repair is highly variable and depends on many factors beyond simple square footage. Key cost drivers include:
- Labor Intensity: Historic repair is meticulous, slow work that requires a high level of skill. It is far more labor-intensive than modern siding installation.
- Custom Milling: The cost to have replacement boards custom-milled to match a historic profile will be higher than using standard materials.
- Lead-Safe Practices: Homes built before 1978 likely have lead-based paint. Proper lead-safe work practices, which are required by law, add to the project’s complexity and cost.
- Access: Difficult-to-reach areas, such as high gables on multi-story homes, will increase labor costs.
- Contingencies: With any old house, it’s wise to have a contingency fund of 10-20% set aside for unforeseen issues, such as discovering more extensive rot once work begins.
Why Placerville Homeowners Trust Our Restoration Experts
We are a preservation-first company. We believe that a historic home’s original materials are its most valuable asset, and our primary goal is always to save as much of the historic fabric as possible. Our team consists of skilled craftspeople who specialize in the techniques required for historic siding restoration, from milling custom profiles to executing invisible Dutchman patches.
We have a deep respect for Placerville’s architectural heritage and a proven track record of working collaboratively with homeowners and local preservation authorities. We understand the science behind how old buildings perform and how to integrate modern weatherproofing to protect them without compromising their character.
Book a Free Siding Assessment Today
Properly caring for your historic Placerville home is a rewarding endeavor. If you have concerns about your siding, taking action is the best way to protect your investment and preserve a piece of local history.
We offer a complimentary, in-depth assessment of your home’s siding. An experienced member of our team will inspect the condition of your exterior, identify problem areas, and discuss your goals. We will provide you with a clear, honest evaluation and outline a preservation-minded approach to repair or restoration.


