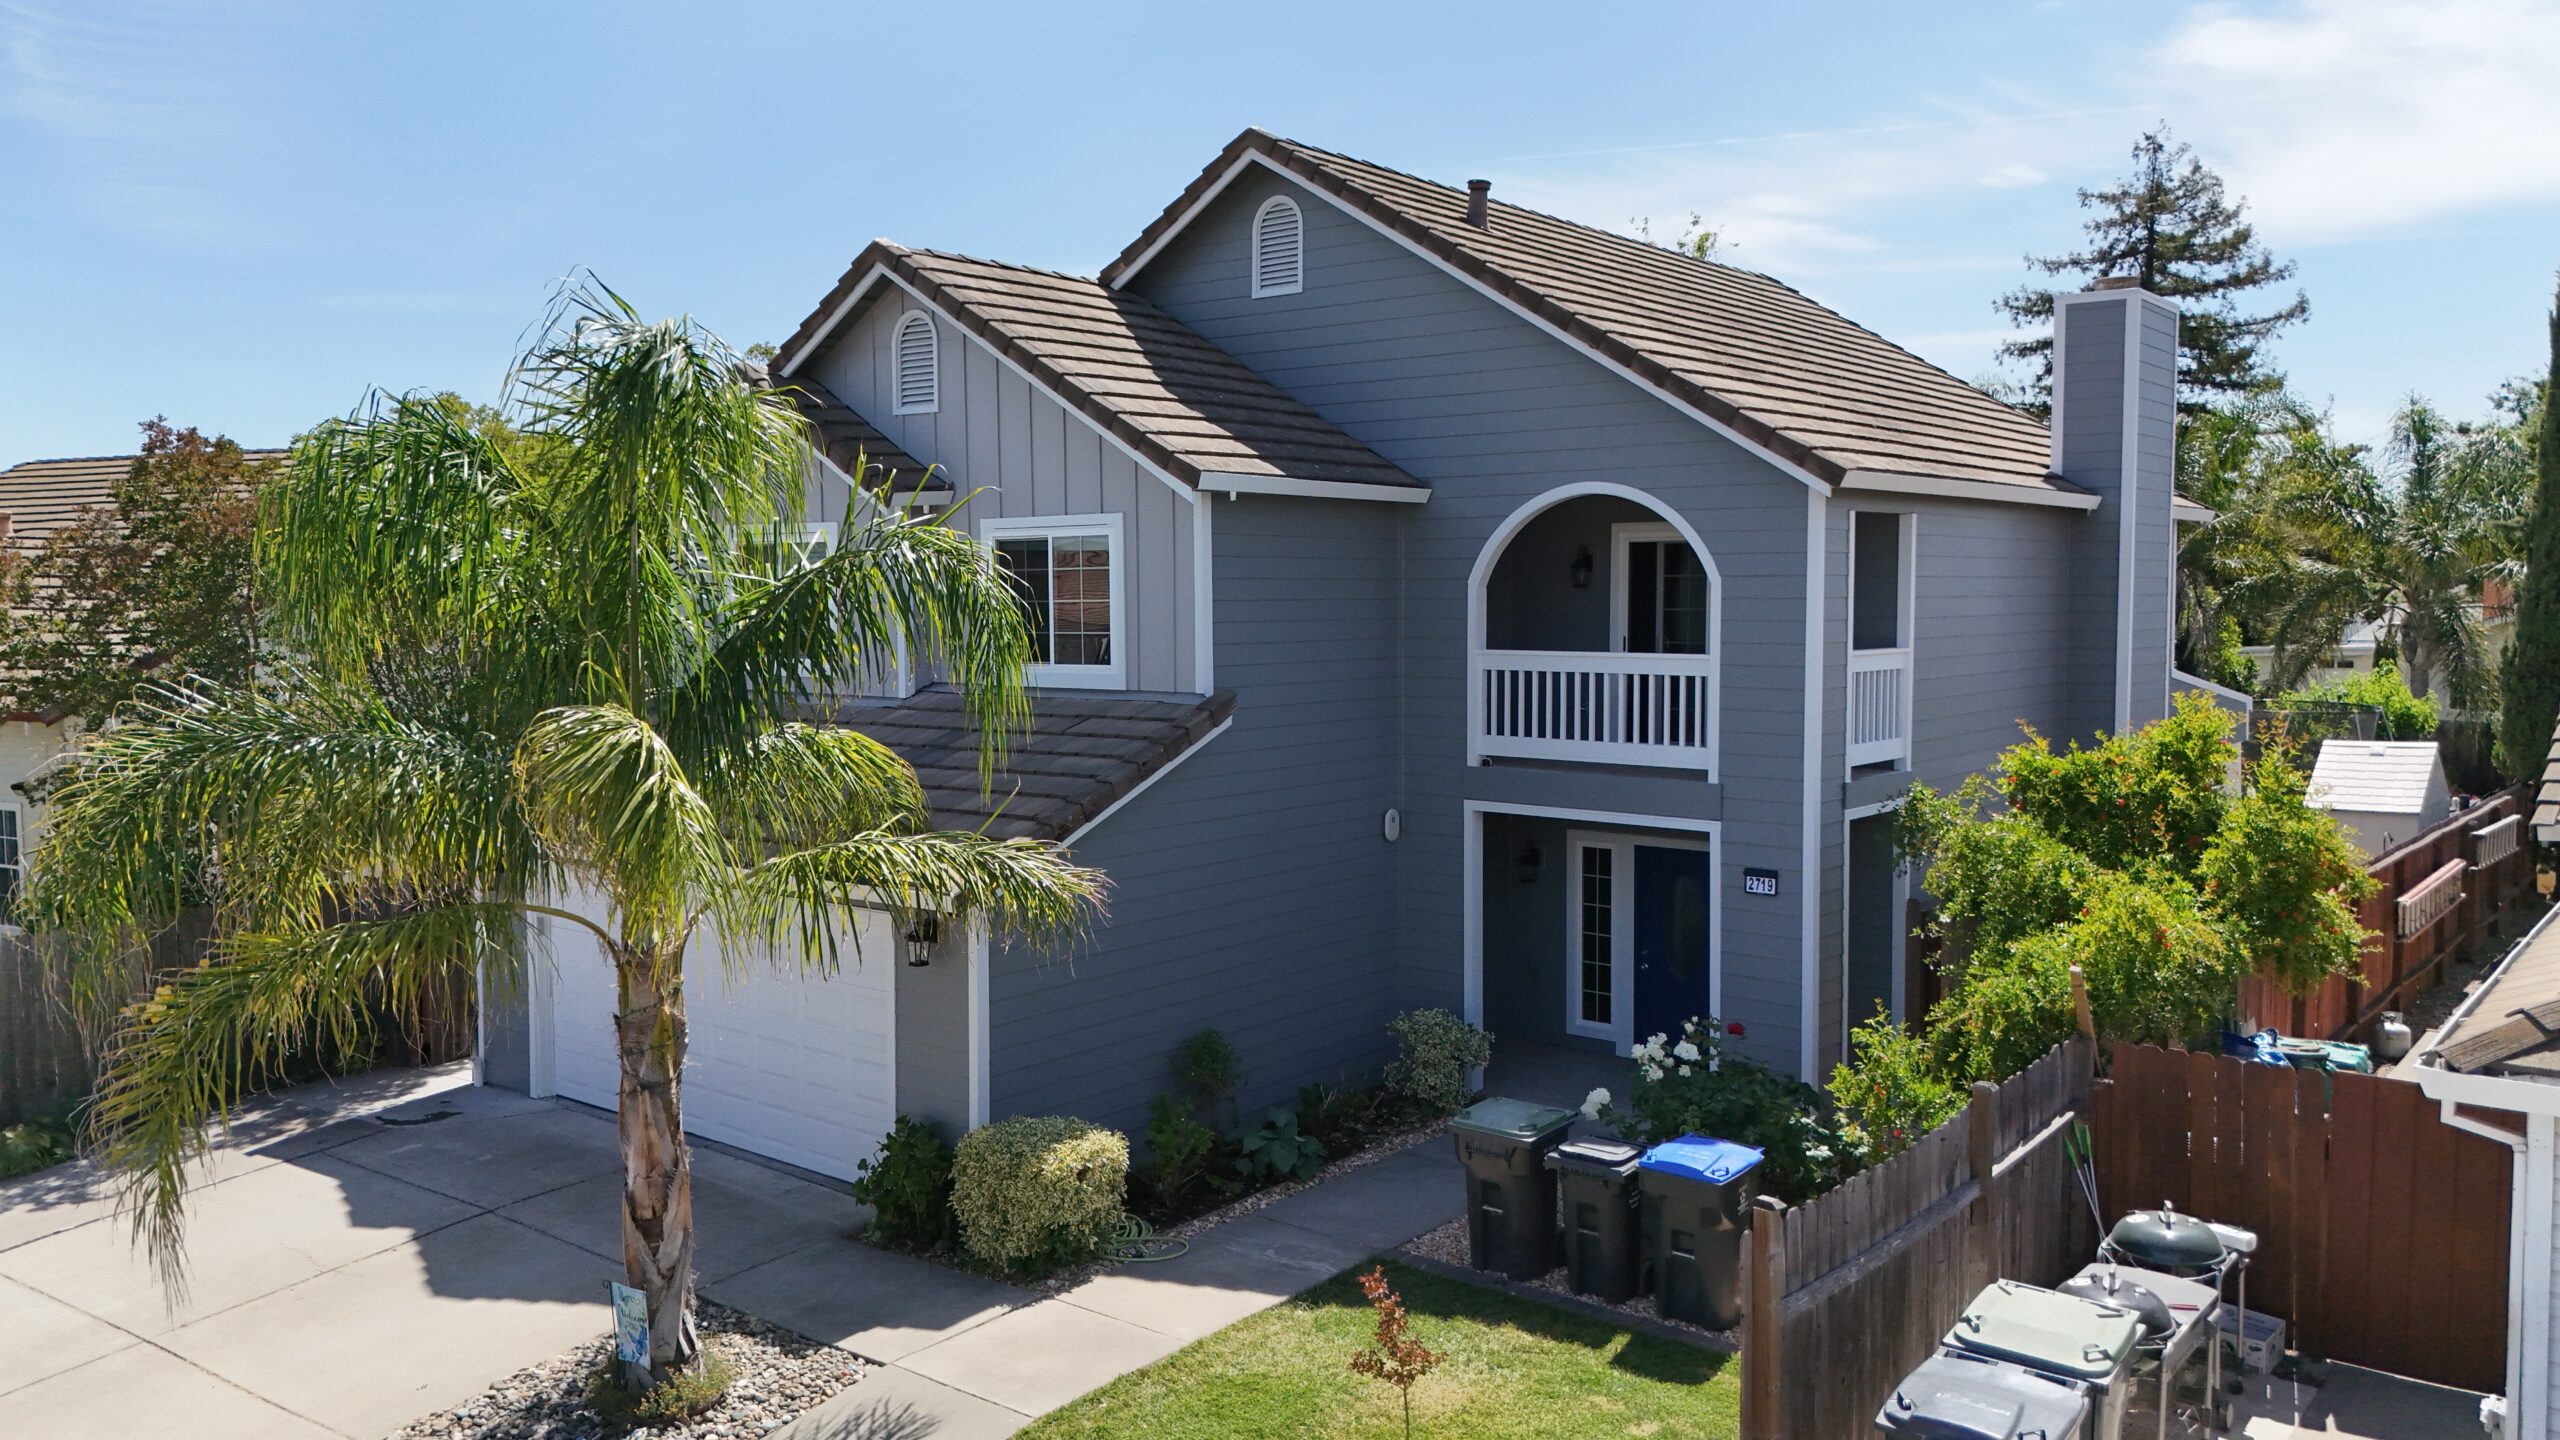
Replacing your home’s siding is one of the most impactful investments you can make. It serves as the primary shield against the elements while defining your home’s curb appeal and character. You can spend weeks selecting the perfect material, texture, and color, but if the installation is flawed, the entire project is compromised. The difference between a beautiful, durable exterior and a costly failure often comes down to the quality of the installation.
Unfortunately, siding installation is a craft where cutting corners or lacking expertise can lead to disastrous results. From improper nailing to inadequate weatherproofing, small mistakes can cause widespread water damage, premature material failure, and a voided manufacturer warranty. These issues aren’t just cosmetic; they can threaten the structural integrity of your home.
Understanding the common pitfalls of siding installation empowers you as a homeowner. It helps you identify a skilled contractor and recognize the signs of a high-quality job. This guide will uncover the most frequent siding installation mistakes, explain the severe consequences they carry, and detail how dedicated professionals ensure a flawless, long-lasting result.
The Critical Foundation: Inadequate Preparation and Weatherproofing
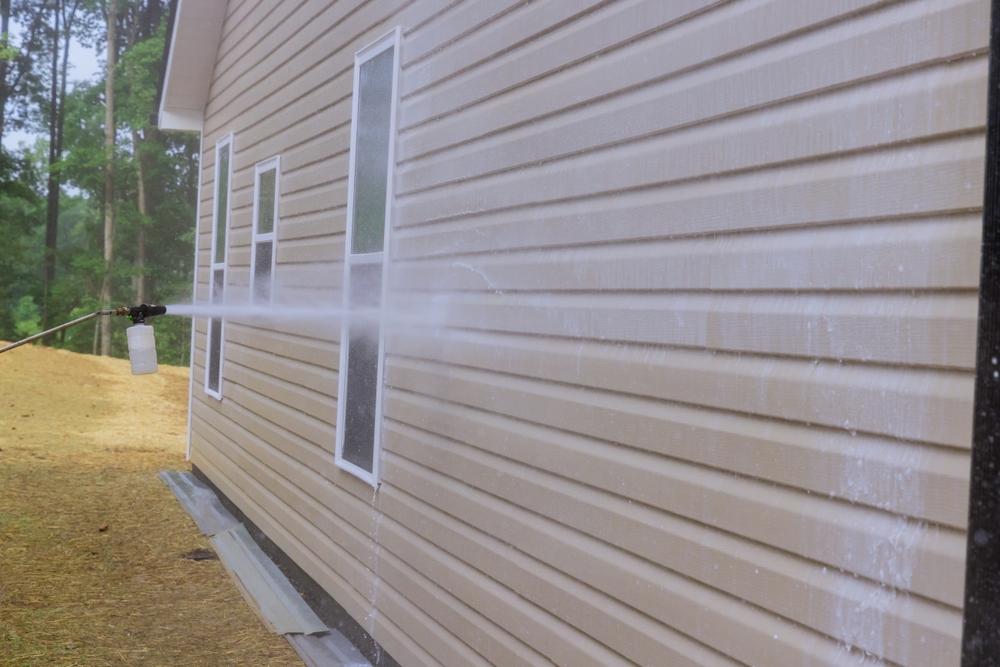
Before a single piece of siding is attached, the most crucial work happens. Failing to properly prepare the walls and install a robust weather-resistive barrier (WRB) is a catastrophic error that leaves a home vulnerable from day one.
Mistake 1: Ignoring or Improperly Repairing Wall Substrate
Many amateur installers or low-bid contractors will simply cover up whatever they find under the old siding. They might ignore soft spots, rotted sheathing (the wood layer covering your wall studs), or insect damage to save time and money.
- The Consequences: Installing new siding over a compromised substrate is like building a house on a foundation of sand. The new siding won’t have a solid surface to anchor to, leading to loose panels and an unstable exterior. More importantly, it traps moisture and rot against your home’s framing, allowing the damage to spread unchecked. This can eventually lead to major structural repairs.
- How Pros Avoid It: A professional contractor always begins with a thorough inspection after the old siding is removed. They will probe the sheathing for soft spots, identify any water stains or signs of rot, and present you with a clear plan to repair it. A reputable installer, like a James Hardie Elite Preferred Contractor, understands that the substrate must be sound. They will replace any damaged sheathing to create a solid, dry, and stable surface for the new installation, ensuring the project’s long-term success.
Mistake 2: Incorrect Installation of the Weather-Resistive Barrier (WRB)
The WRB, or house wrap, is your home’s last line of defense against water. It’s a special membrane installed over the sheathing that stops water from reaching the wall cavity but allows water vapor to escape. Common mistakes include using the wrong material, creating reverse laps, or failing to properly seal seams and openings.
- The Consequences: If the WRB is lapped incorrectly (bottom over top instead of top over bottom), water will be channeled directly into the wall. Unsealed seams or inadequate flashing around windows and doors create easy entry points for moisture. The result is hidden water damage, mold growth within your walls, and structural rot that can go unnoticed for years until the damage is severe.
- How Pros Avoid It: Professionals treat the WRB installation as a critical system. They use high-quality materials like HardieWrap® and follow a meticulous process. They ensure every course is lapped correctly, like shingles on a roof, so water is always directed down and out. All seams are taped with manufacturer-approved tape, and they use specialized flashing techniques (like pan flashing at window sills) to integrate every opening seamlessly into the water management system.
Nailing It Down: The Science of Proper Fastening
How the siding is fastened to the wall is not just a matter of keeping it on; it’s a science. Improper nailing is one of the most common and damaging installation mistakes. Fiber cement siding, in particular, requires precise fastening to perform correctly.
Mistake 3: Over-driving or Under-driving Nails
- Over-driving: This happens when the nail is driven too deep, fracturing the face of the siding panel. The nail head breaks through the surface, creating a “bullseye” or spider-web crack.
- Under-driving: This occurs when the nail isn’t driven flush with the siding surface and remains slightly raised.
- The Consequences: Over-driven nails create a weak point in the panel, which can lead to larger cracks and breaks over time. It also creates a small crater where water can collect, accelerating wear. Under-driven nails prevent the next course of siding from sitting flat, creating an unsightly bulge and a wavy appearance across the wall. Both mistakes compromise the siding’s integrity and ruin the aesthetic.
- How Pros Avoid It: Professionals use pneumatic siding nailers equipped with a depth-of-drive adjustment. They take the time to calibrate the tool for the specific siding material and substrate density. They consistently check that each nail is driven perfectly flush with the siding surface—not too deep, not too shallow. This ensures a secure hold without damaging the panel.
Mistake 4: Incorrect Nail Placement
Siding manufacturers provide strict guidelines on where nails should be placed. Nailing in the wrong spot, such as too high or too low on the plank, is a frequent error.
- The Consequences: Nailing too high on a plank (face nailing) can cause the panel to be loose at the bottom, leading to rattling in the wind and an increased risk of water intrusion. Nailing too low can interfere with the overlap of the next course, and it restricts the panel’s ability to expand and contract naturally with temperature changes, which can lead to buckling or warping.
- How Pros Avoid It: Expert installers are intimately familiar with the manufacturer’s installation guide. For James Hardie siding, they know to use the blind nailing technique, placing the nail about one inch from the top of the plank so it will be covered by the next course. This provides a secure hold while allowing for natural movement.
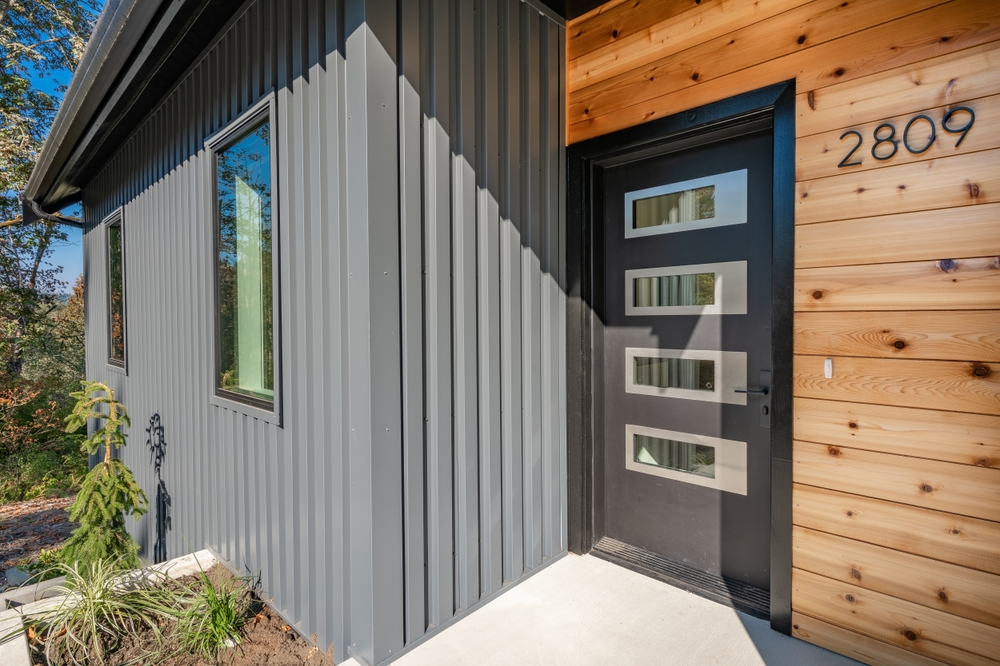
Details, Details: Gaps, Flashing, and Clearances
The difference between an amateur job and a professional one is often in the details. Proper management of joints, gaps, and clearances is essential for both performance and appearance.
Mistake 5: Improper Joint Treatment and Gapping
Siding materials, especially fiber cement, will expand and contract slightly with changes in temperature and humidity. The joints where two siding planks meet a trim board (like a window frame or corner) must accommodate this movement.
- The Consequences: If siding is jammed tight against a trim board with no gap, there is no room for expansion. As the siding expands in warmer, more humid weather, it can buckle, warp, or even crack. Conversely, leaving excessively large gaps creates an eyesore and a potential entry point for water and pests.
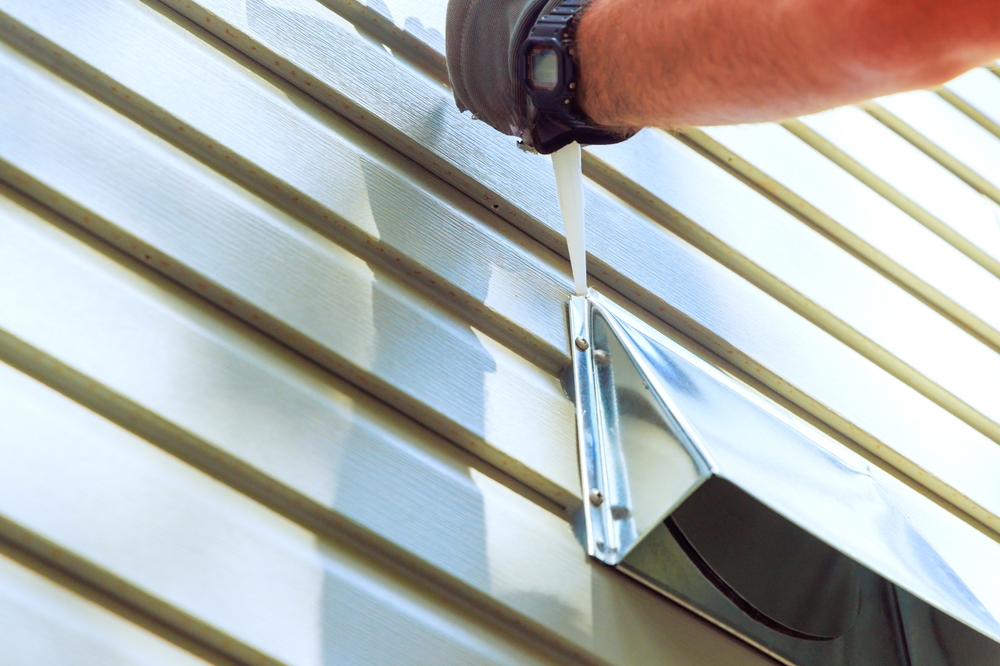
- How Pros Avoid It: Professionals follow the “leave a gap, caulk a gap” rule meticulously. Manufacturer specifications, like those for James Hardie products, require a specific gap (often 1/8 inch) where siding meets trim. This gap is then filled with a high-quality, permanently flexible caulk that complies with ASTM C920 standards. This creates a weatherproof seal while allowing the siding to move naturally without causing damage. Joints where two planks meet in the middle of a wall (butt joints) are protected with flashing behind the seam.
Mistake 6: Neglecting Clearances from Hard Surfaces
Siding should never come into direct contact with horizontal surfaces where water can collect, such as roofs, decks, patios, or the ground itself.
- The Consequences: When siding sits directly on a roofline or patio, it will constantly wick up moisture. This persistent wetness will lead to paint failure, swelling, and eventual delamination and rot at the bottom of the panels, no matter how durable the material is.
- How Pros Avoid It: Professionals strictly adhere to clearance requirements. They maintain a 1-2 inch gap between the bottom of the siding and any rooflines and a minimum 6-inch gap from the ground or any hardscaping like a concrete patio. This critical air gap ensures that the bottom edge of the siding can dry out completely, preventing moisture damage and dramatically extending its life.
How Homeowners Can Ensure a Quality Installation
As a homeowner, you are the ultimate quality control manager for your project. Here’s how you can protect your investment and ensure you’re getting the job you paid for.
1. Hire a Certified and Reputable Contractor
This is the single most important step you can take. Don’t just look for the lowest bid. Look for a contractor with a proven track record, positive reviews, and proper credentials.
- Look for Certifications: For fiber cement, hire a James Hardie Elite Preferred Contractor. This designation means the company has been trained and audited by the manufacturer to ensure they follow best practices.
- Check Licenses and Insurance: Verify their contractor’s license is active and that they carry both general liability and workers’ compensation insurance.
- Ask for References: Talk to past clients in your area, such as in Sonoma, CA, or other nearby communities. Ask about their experience and if they would hire the contractor again.
2. Understand Your Proposal
Insist on a highly detailed written proposal. It should specify the exact materials being used (including the brand of house wrap and caulk), the full scope of work, and the process for handling unforeseen repairs. A vague proposal is a major red flag.
3. Be Observant During the Project (Without Micromanaging)
You don’t need to stand over the crew’s shoulder, but paying attention to the work as it progresses can help you spot potential issues.
- Check the House Wrap: Before the siding goes on, look at the house wrap. Does it look neat? Are the seams taped? Is it properly lapped around corners and openings?
- Look at the Details: As the siding is installed, look at the corners and around the windows. Are the gaps neat and consistent?
- Ask Questions: If you see something that concerns you, ask the project manager about it. A professional crew will be happy to explain their process and why they are doing things a certain way.
The Hexteriors Commitment to Flawless Installation
A siding project is a significant undertaking, and your home deserves the highest level of craftsmanship. At Hexteriors, we understand that a superior material is only as good as its installation. Our status as a James Hardie Elite Preferred Contractor is a reflection of our unwavering commitment to getting every detail right.
We avoid these common mistakes by investing in continuous training for our crews, using only manufacturer-specified materials and techniques, and fostering a culture of accountability and pride in our work. From the initial substrate inspection to the final piece of trim, our process is designed to deliver a beautiful, durable, and fully protected home exterior.
Don’t let your investment be compromised by poor installation. If you’re considering a siding replacement, start with a partner who prioritizes quality above all else. Contact Hexteriors today for a free, no-obligation consultation. Let us show you the difference that professional, expert installation makes.
Lock In a Free, No-Obligation Estimate
Get transparent pricing on siding, windows, or exterior repairs fast. No sales pressure. Just answers.
Get My Free Estimate